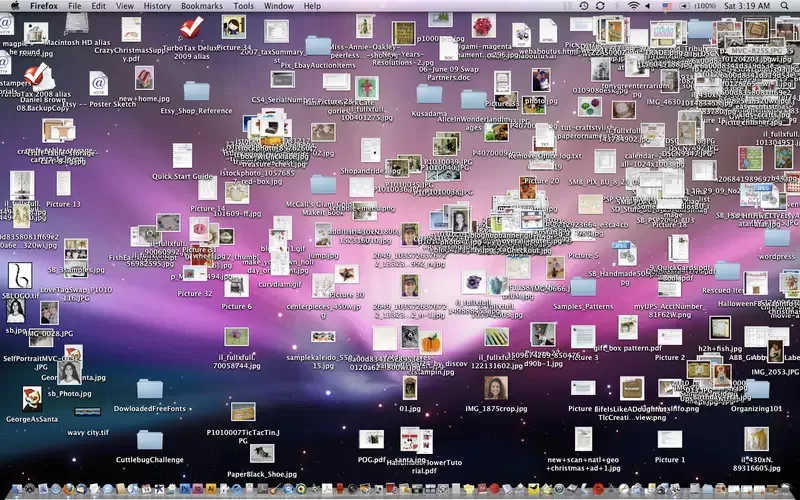
A messy desktop can feel overwhelming, but it doesn’t have to stay that way. With just a little effort, you can transform your cluttered screen into a tidy, stress-free digital workspace. In this guide, we’ll walk you through practical steps to organize your desktop, improve your productivity, and maintain a clean digital environment effortlessly.
Why a Clean Desktop Matters
Think of your desktop as your digital workspace. Just like a physical desk piled high with papers and sticky notes, a cluttered desktop makes it harder to find what you need, leading to wasted time and frustration. Plus, an overloaded desktop can even slow down your computer’s performance.
Step 1: Assess the Damage
Take a good, hard look at your desktop. Is it littered with:
Randomly named files like “final_version_2_REAL_FINAL.doc”?
Dozens of screenshots you forgot to delete?
Applications you rarely use?
Don’t feel guilty—we’ve all been there. The key is to tackle it one step at a time.
Step 2: Sort and Categorize
Start by grouping similar items together. Here’s a simple approach:
Create temporary folders for each type of file. For example:
Screenshots
Documents
Media (images, videos, etc.)
Drag and drop files into these folders. Don’t worry about organizing them perfectly yet; this is just the sorting phase.
Step 3: Arrange Your Icons
Once your files are sorted into folders, take a moment to arrange the remaining icons on your desktop. Here’s how:
Use Auto-Arrange: Right-click on your desktop, hover over “View,” and enable “Auto Arrange Icons” to instantly tidy up.
Group by Type: Place folders on one side of the screen and shortcuts or frequently used apps on the other.
Align Icons: Use the “Align to Grid” option (found in the same menu as Auto Arrange) to create a clean, organized look.
Step 4: Purge What You Don’t Need
Now that everything is categorized and arranged, it’s time to be ruthless. Ask yourself:
When was the last time I used this file?
Do I have a duplicate saved elsewhere?
Can I back this up to cloud storage or an external drive instead of keeping it on my desktop?
Delete anything you no longer need. (And don’t forget to empty your Recycle Bin afterward!)
Step 5: Organize What’s Left
Here’s where the magic happens:
Create Permanent Folders: Think “Work,” “Personal,” “Projects,” etc.
Rename Files Clearly: Use descriptive names like “2024_Tax_Return.pdf” or “Vacation_Photos_Hawaii.jpg.”
Use Shortcuts: Instead of cluttering your desktop with actual files, create shortcuts to important documents and apps.
Step 6: Add Some Flair
A clean desktop doesn’t have to be boring! Customize your wallpaper and arrange your folders in a visually pleasing way. Pro tip: Choose a calming background to boost your mood every time you log in.
Prevent Future Clutter
Set a reminder to declutter monthly.
Create a “To Sort” folder for incoming files and organize it weekly.
Use desktop management tools like Fences or Nifty.
Engagement Question: How often do you clean up your digital space? Share your favorite tips in the comments!
Need help with a bigger digital cleanup or system overhaul? Computer Chick is here to make your tech stress-free and efficient. Contact us today!


